Organize your parts into categories for easier management.
Overview
Part categories help organize your inventory. Categories can be nested (parent-child) for hierarchical organization.
Viewing Categories
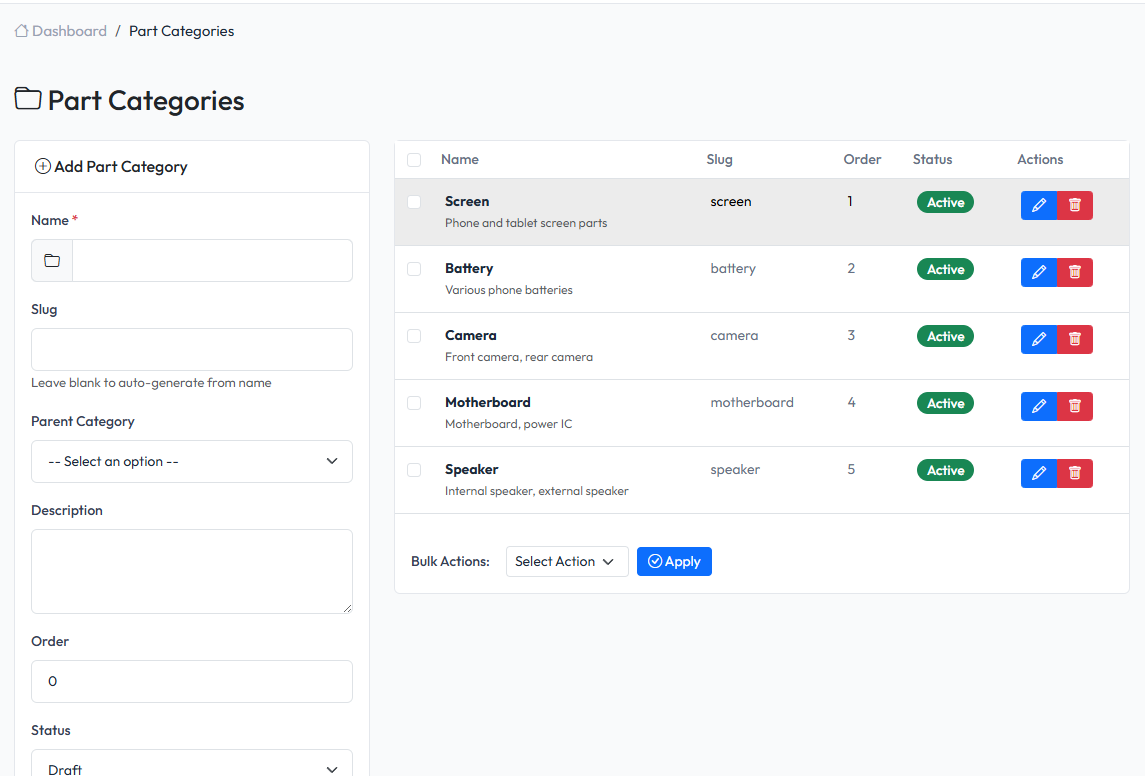
Navigate to Admin > Parts > Part Categories to see all categories.
Creating a Category
- Navigate to Admin > Parts > Part Categories
- Fill in the form on the left side
- Click Save
Category Fields
| Field | Description | Required |
|---|---|---|
| Name | Category name | Yes |
| Slug | Category slug | No |
| Parent | Parent category (for nesting) | No |
| Description | Category description | No |
| Status | Active or Inactive | Yes |
Nested Categories
Create a hierarchy by setting a parent category:
Screens
├── Phone Screens
│   ├── iPhone Screens
│   └── Samsung Screens
└── Tablet Screens
Creating Nested Categories
- Create the parent category first
- When creating child category, select the parent
- Child appears indented under parent
Editing a Category
- Find the category in the list
- Click Edit button
- Modify the information
- Click Save
Deleting a Category
- Find the category in the list
- Click Delete button
- Confirm deletion
Warning: Deleting a parent category will also delete all child categories. Parts in deleted categories will become uncategorized.
Using Categories
Filtering Parts
On the Parts list page, use the category filter to show only parts in a specific category.
Assigning Parts to Categories
When creating or editing a part, select the category from the dropdown.